After you have installed NetBeans IDE, this is a screenshot of what you might be seeing especially for NetBeans 7.3 below

My version of NetBeans might be old but it still does the work.
Now the first thing to do here is to create a new project and give it a name.
To do that you have to click on that orange box that has a cross in color green under EDIT or you click on FILE and then click on NEW PROJECT or you use the command function ctrl + shift + N
You pick anyone that is convenient for you to open your new project when you have done that this a screenshot of what you will see.

Now in the categories select Java and in the projects select Java Application and click NEXT
When you have done that another dialog appears that requests you to fill in your project name.

When you have done that NetBeans automatically creates a new file bearing the same name as your project name and presents with a screenshot like this:

To create a new file click on the first icon by your left that has something like a flipped paper on the right edge and a cross in colour green or you click on FILE and then NEW FILE or you enter the command ctrl + N.
Once you have done that a dialog would appear. Here is a screenshot of what the dialog looks like:
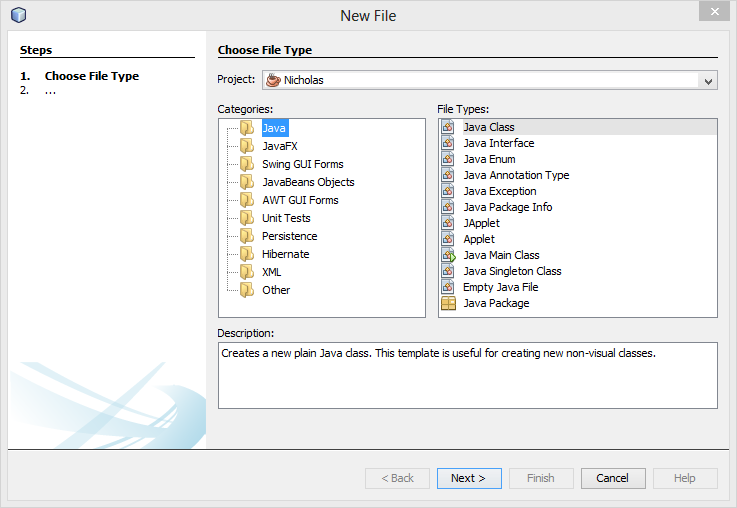
Select Java in the Categories and Java Class in the File Types and Click on NEXT
A dialog appears and here is a screenshot of what the dialog looks like:
On the dialog fill in your class name and then click on FINISH and YES! you have a new file.
So in the other posts following we would create a new file, write codes, run them and be happy ok?
Peace!!
No comments:
Post a Comment